Extra Timed Entries on Friday Nov 1st and Monday, Nov 4th! Click here to save & purchase!

Snowflake Geometry

Snowflake Geometry

December 2, 2022

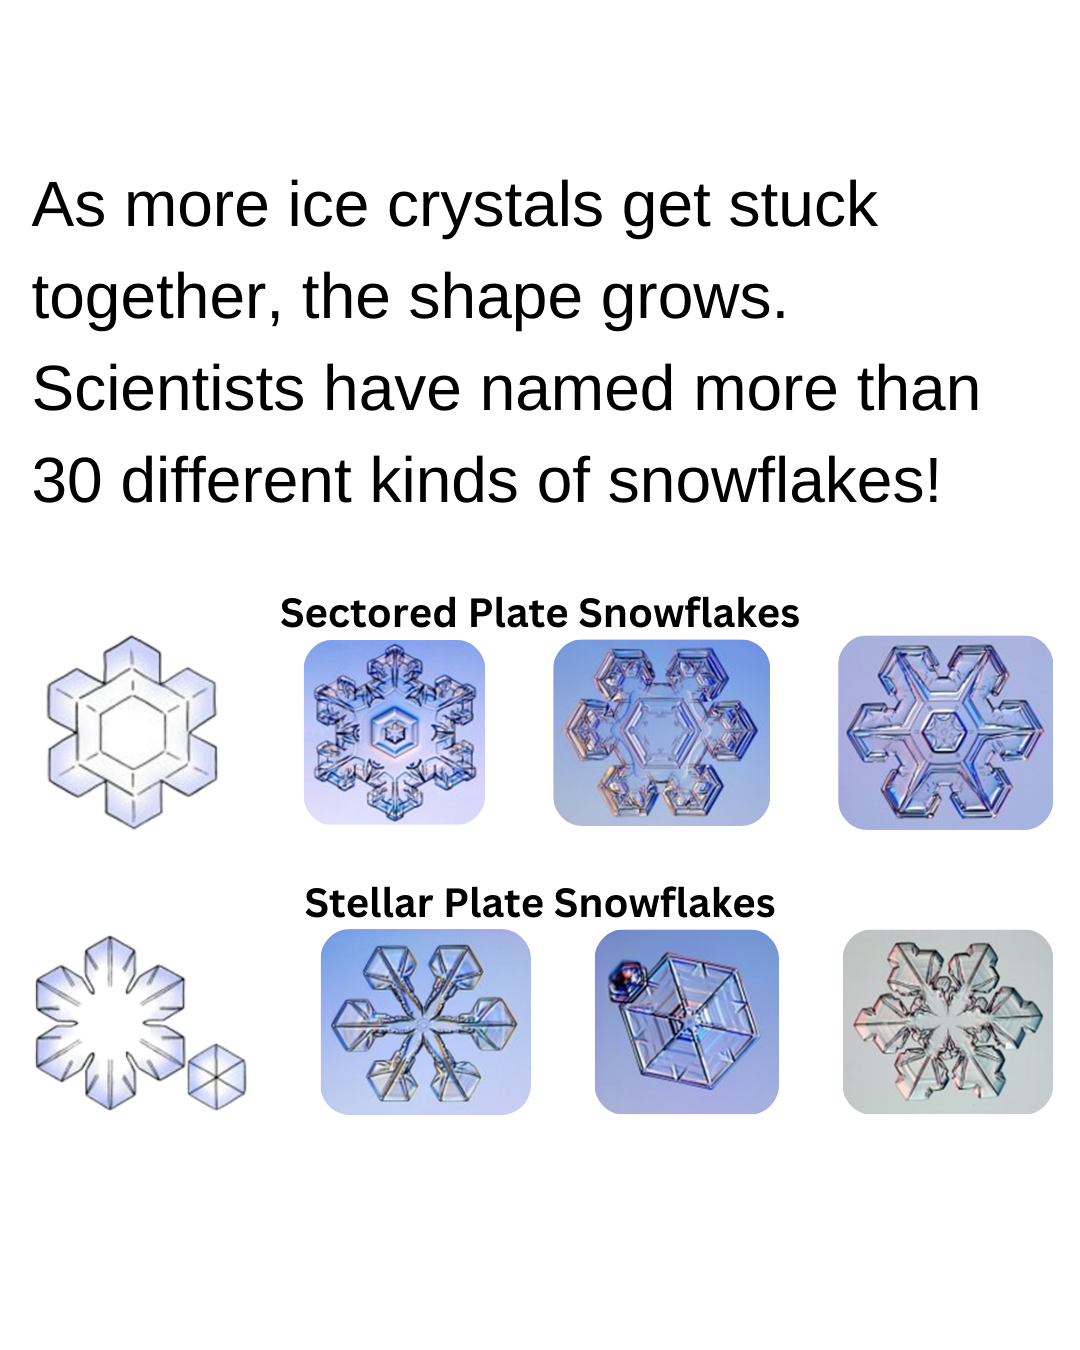
Even though snowflakes are all different, they all have the same basic shape. But why? Explore the activity below and see what you can find out!

Materials:

- Paper

- Pencil

- Scissors

- Ruler (optional)

Procedure:

1. Create your snowflake template by drawing three straight lines on your paper. Use the example to the right for drawing your lines.

2. Fold your paper on the lines that you have drawn. Your paper will fold over itself.

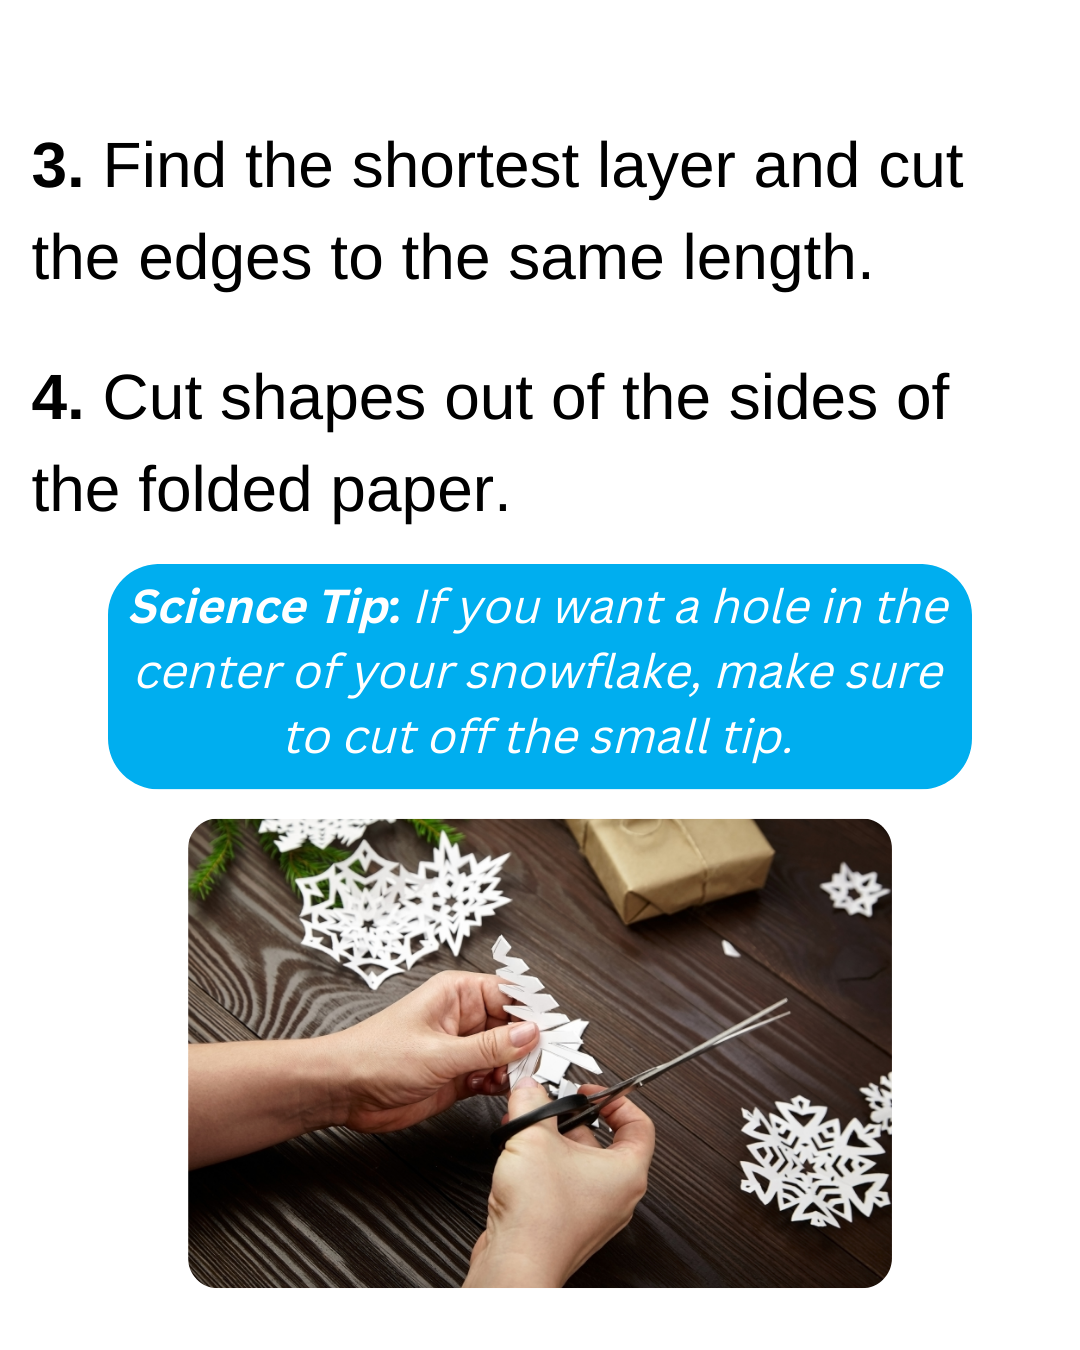
3. Cut shapes out of your folded paper. Be careful not to cut all the way across your folded paper unless you want a hole or are shaping the outside edge.

Tip: If you want a hole in the center of your snowflake, make sure to cut off the small tip.

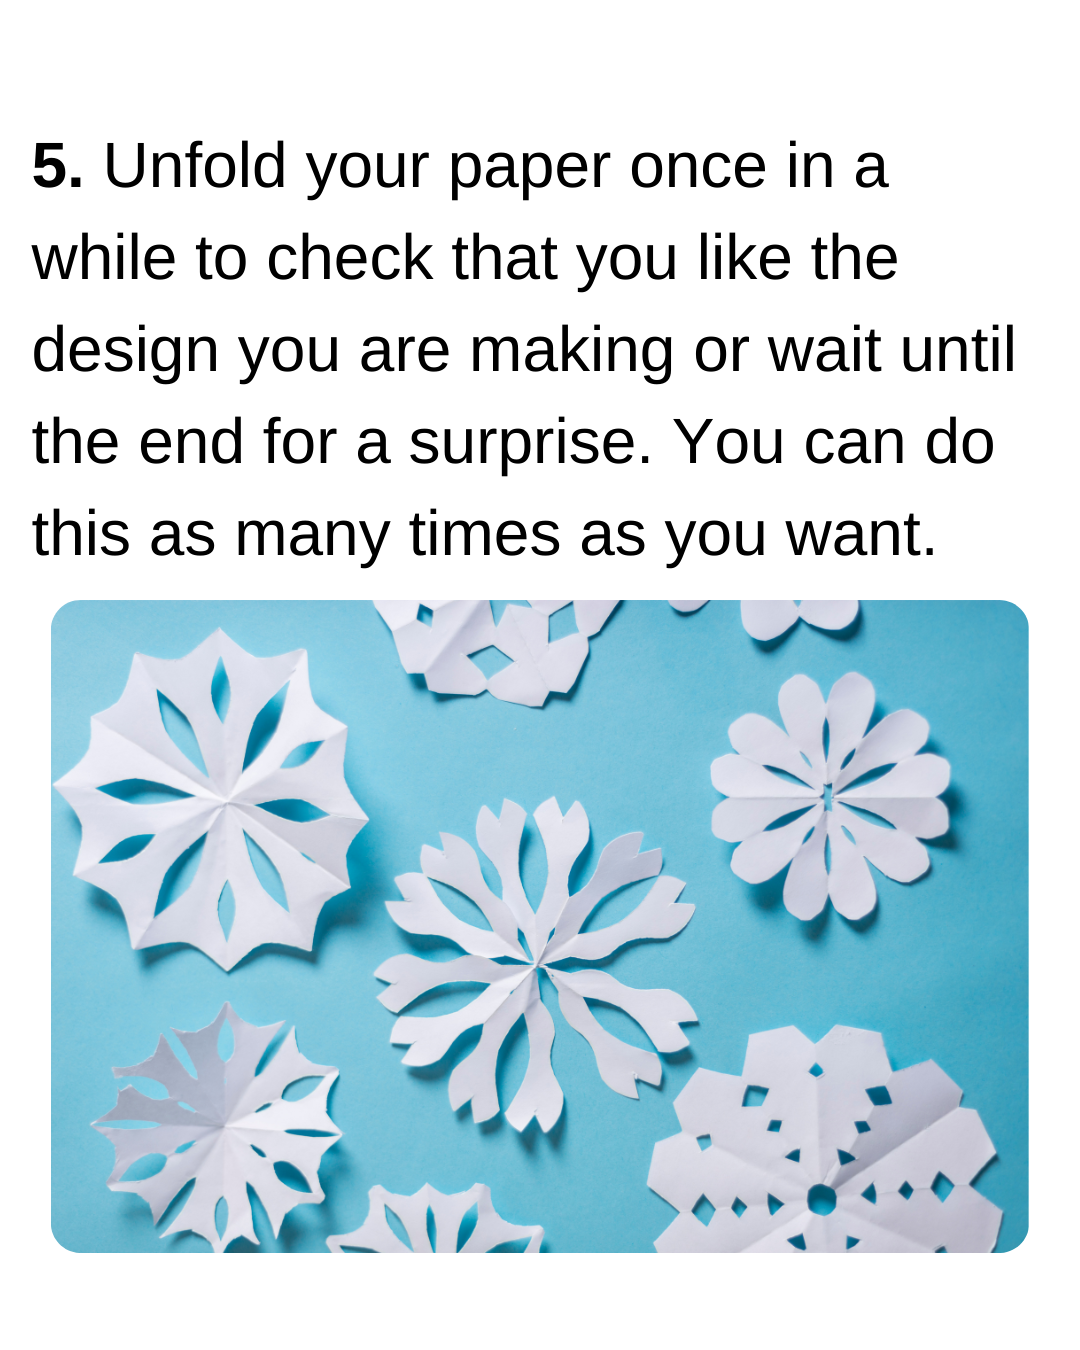
4. Unfold your paper once in a while to check that you like the design you are making or wait until the end for a surprise. You can do this as many times as you want.

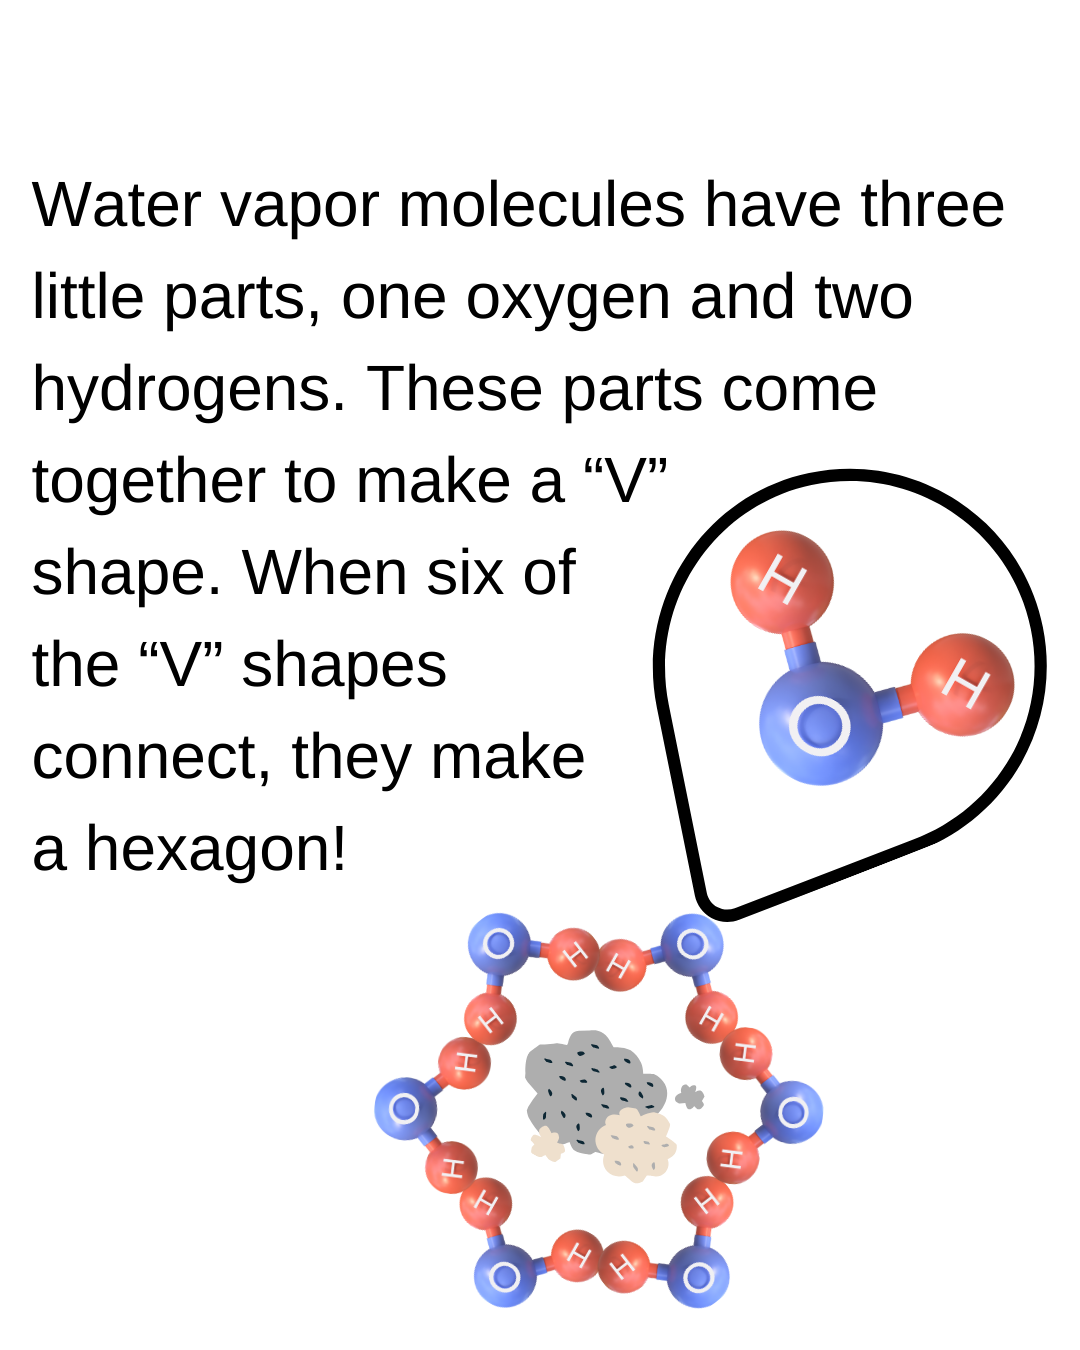
What’s happening? Water molecules are made up of two hydrogens and one oxygen in a sort of

bent shape. Try making two fists and placing them on either side of the top of your head (like Mickey Mouse ears!). Your fists represent the hydrogens while your head represents the oxygen. Because of this shape, when water molecules freeze to each other, they form a hexagon, or a shape with six sides.

The amount of water that is in snow might surprise you! The average ratio of snow compared to rain is: 1 inch of rain = about 13 inches of snow! You can do a mini experiment at home by gathering snow in a jar, measuring it with a ruler, wait for the snow to melt, and measure the amount of water left in the jar with the ruler.